
Tubeless tyres or with inner tube?
I have been riding the Mavic UST tubeless tyres for two years now and I had:
NOT ONLY ONE FLAT TIRE!
But where there is so much light, there is also shadow. Tubeless tyres have no inner tube and use sealing milk to seal both small punctures and the tyre itself on the rim.
When a new tyre finds its way onto the rim, or if the used tyre is to be re-fitted during a service, one question always arises: How do I get enough air into the tyre quickly so that the tyre can jump into the rim bed? Normal floor pump – forget it. And not everyone has a big compressor in the basement.
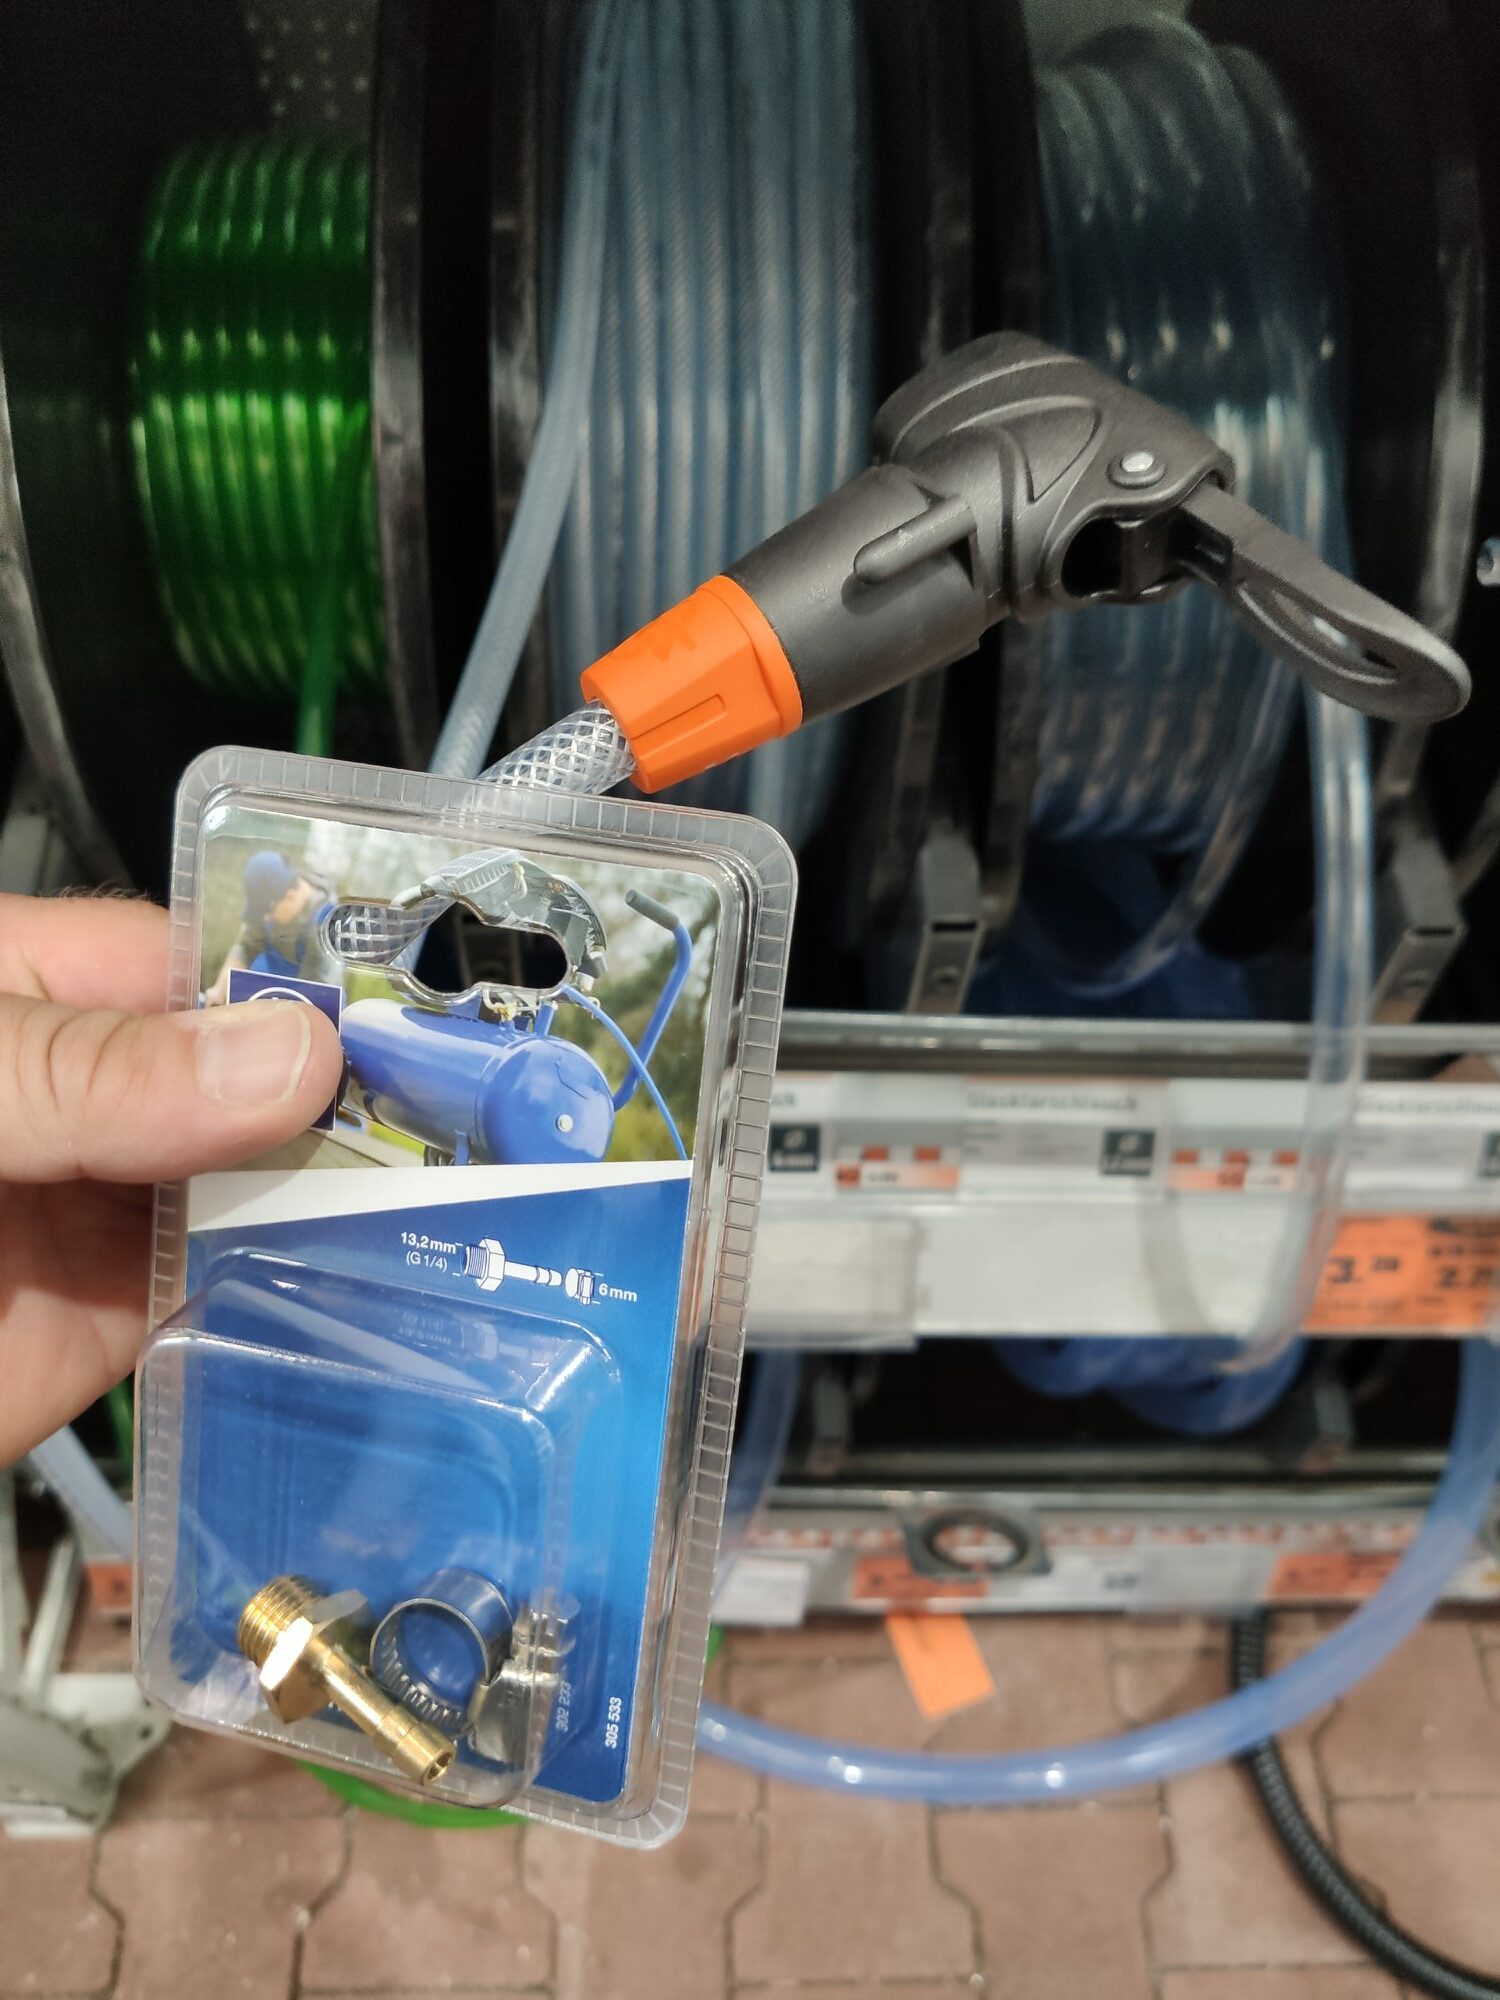
Of course, there are ready-made products for this application. I can briefly introduce one to you here. So if you don’t like to DIY: Go for this one.
DIY: We convert an old fire extinguisher
Shoppinglist:
Anyone can buy something, but it’s much more fun to make something yourself.
So what do we need for our DIY Tubeless Tire Booster Tank:
- Fire extinguisher powder ABC with pressure gauge (continuous pressure fire extinguisher).
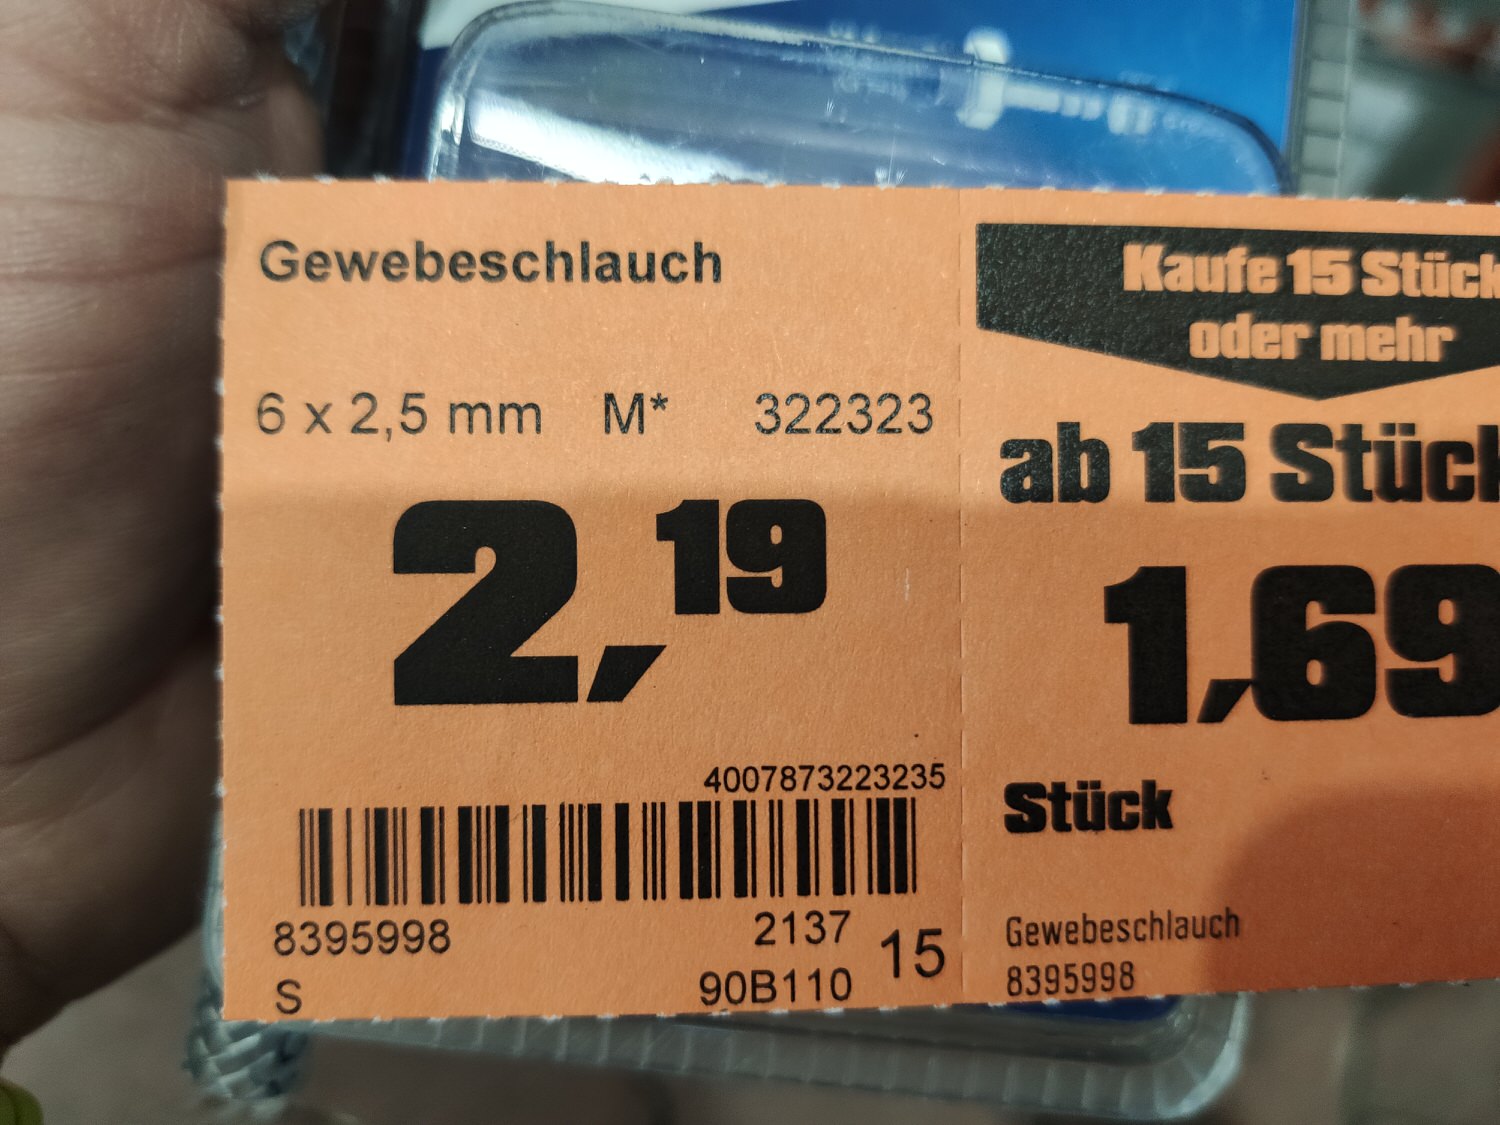
In my case a 2kg extinguisher from Ikea or this one - Compressed air hose 6mm
Take this one or at OBI 6mm - Tubeless valve
Take this one or cut up an old hose and take the valve - Valvehead for all common valves
- PTFE insulating tape in black or white
Preparations
If you have a new or old fire extinguisher, it will certainly still be filled. If not, move on to the next step.
You simply unscrew the plastic grommet at the front of the extinguisher and mount the hose with the fitting already on the extinguisher. Yes, even if it is still full. Then we take a watering can and fill it with 1/3 water. Now we insert the hose in the front of the can spout until it lies in the water. The extinguisher can now be released and the powder can be transported through the water into the can without making a mess. The powder should then be disposed of properly (some people also use it to fertilise their garden).
Disassamble fire extinguisher
My Ikea extinguisher was screwed so tightly that I had to use a cloth and pipe pump pliers to separate the fitting from the bottle. Don’t be afraid, it can be done.
You can simply unscrew the riser tube that now appears. But only the tube, not the end piece where the spring for the release mechanism is located. Clean everything nicely and that’s almost it.
Insert tubeless valve
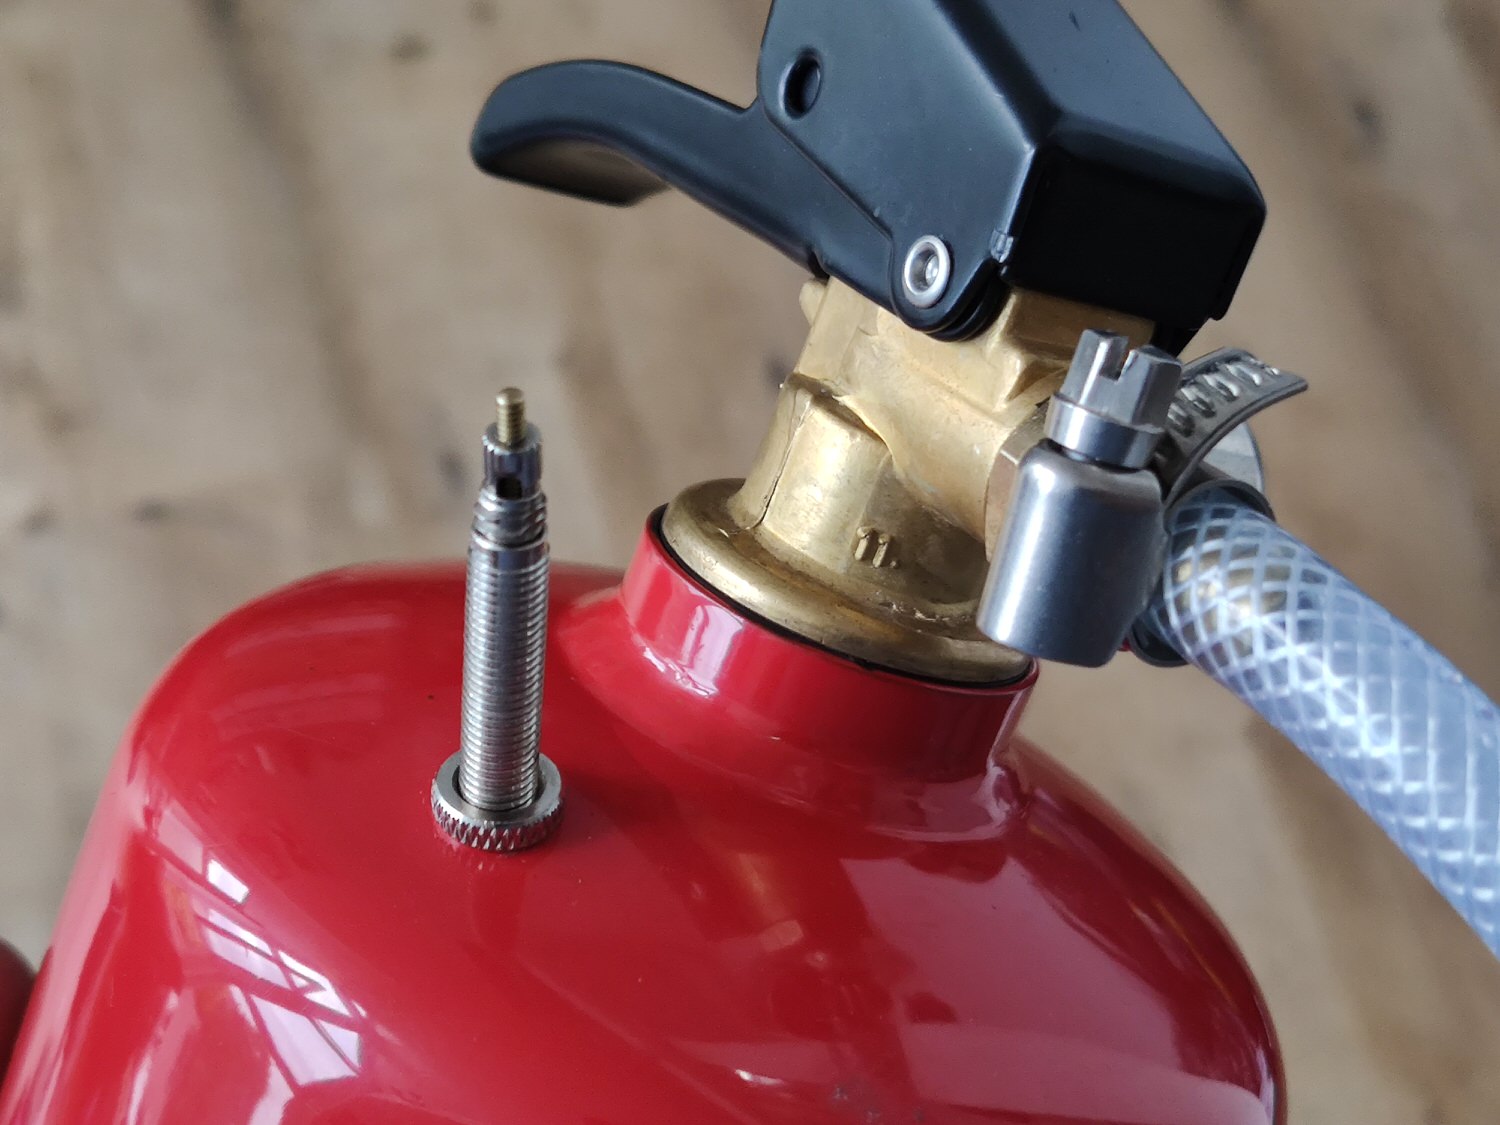
Take a cordless screwdriver, mark a spot at the top of the extinguisher, similar to my photo, and drill a 6mm hole for the valve. The air has to get into the bottle. With a small wire, which you insert into the bottle from above and take out of the valve hole again (or vice versa), you can easily slide the valve in. Don’t forget the gaskets, inside for sure and outside it’s a good idea as well.
DIY Air Tank Tubeless Tire Booster Assembly
The fire extinguisher is empty, cleaned. A hole has been drilled and we have inserted a valve. What else needs to be done?
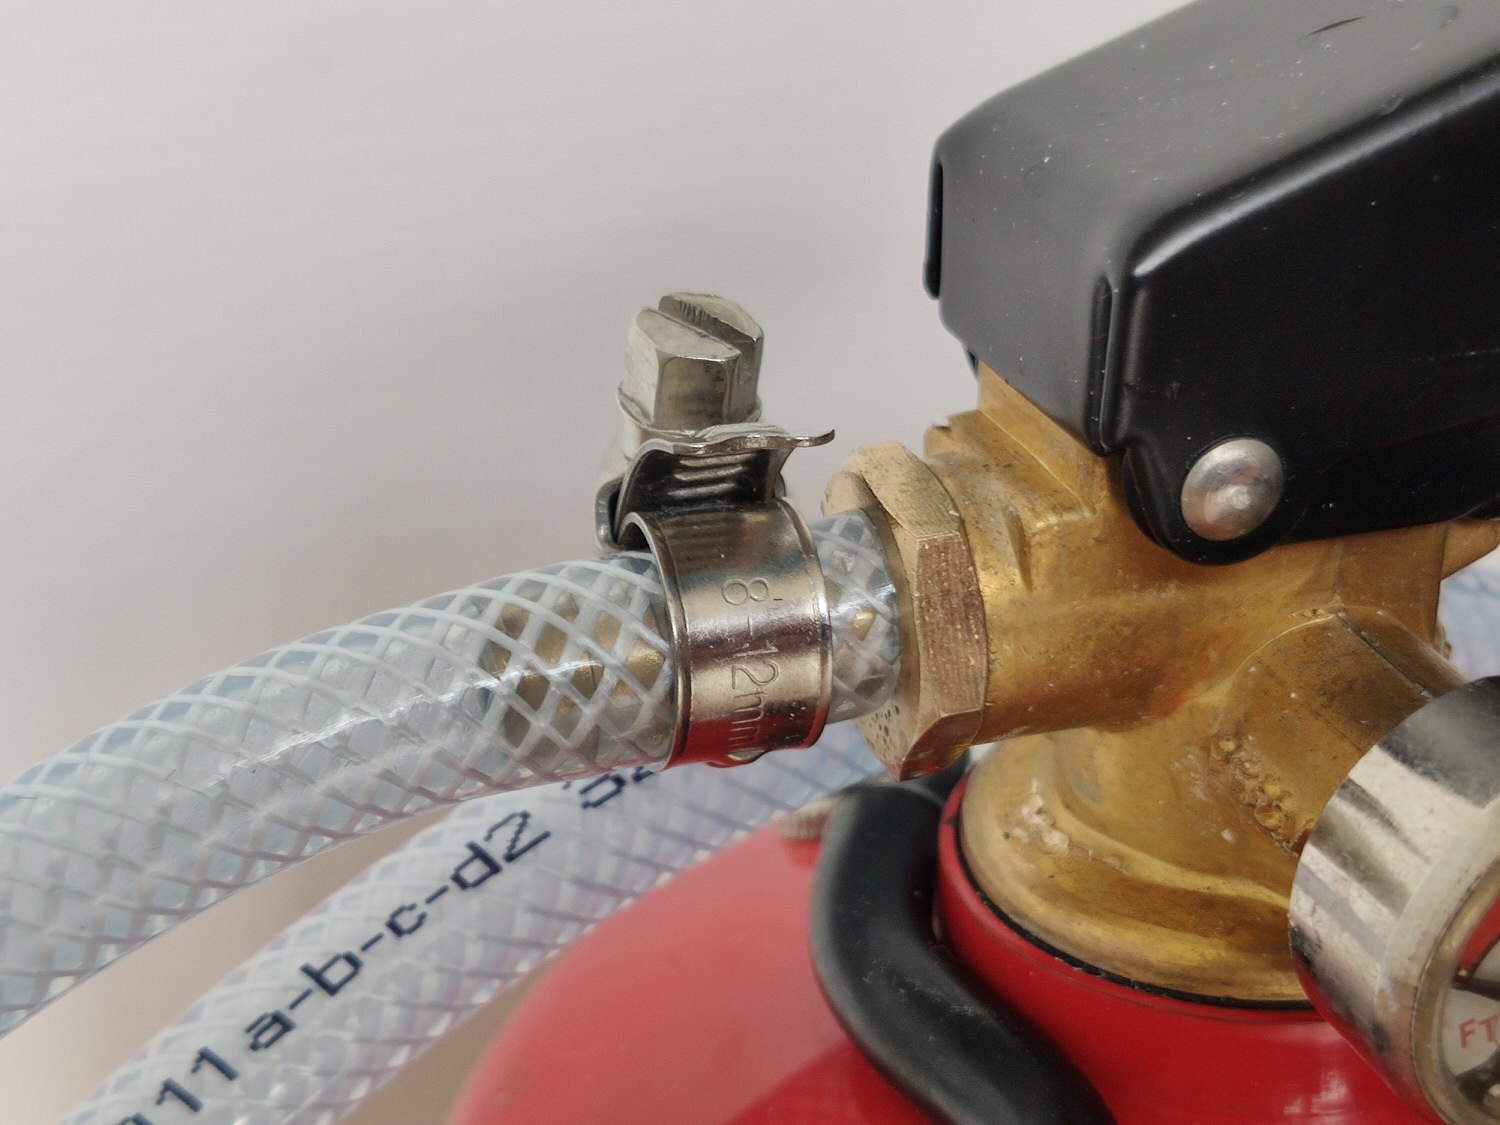
The hose was already mounted on the clamp, so we emptied the extinguisher into the can. This should now also be well cleaned.
Some ISO tape around the fitting and then screw the hose onto the fire extinguisher. Now the valve head is mounted on the 6mm compressed air hose and we are:
REAAAAADY!
DIY Air Tank Tubeless Tire Booster Refuel and Mount Mountain Bike Tires
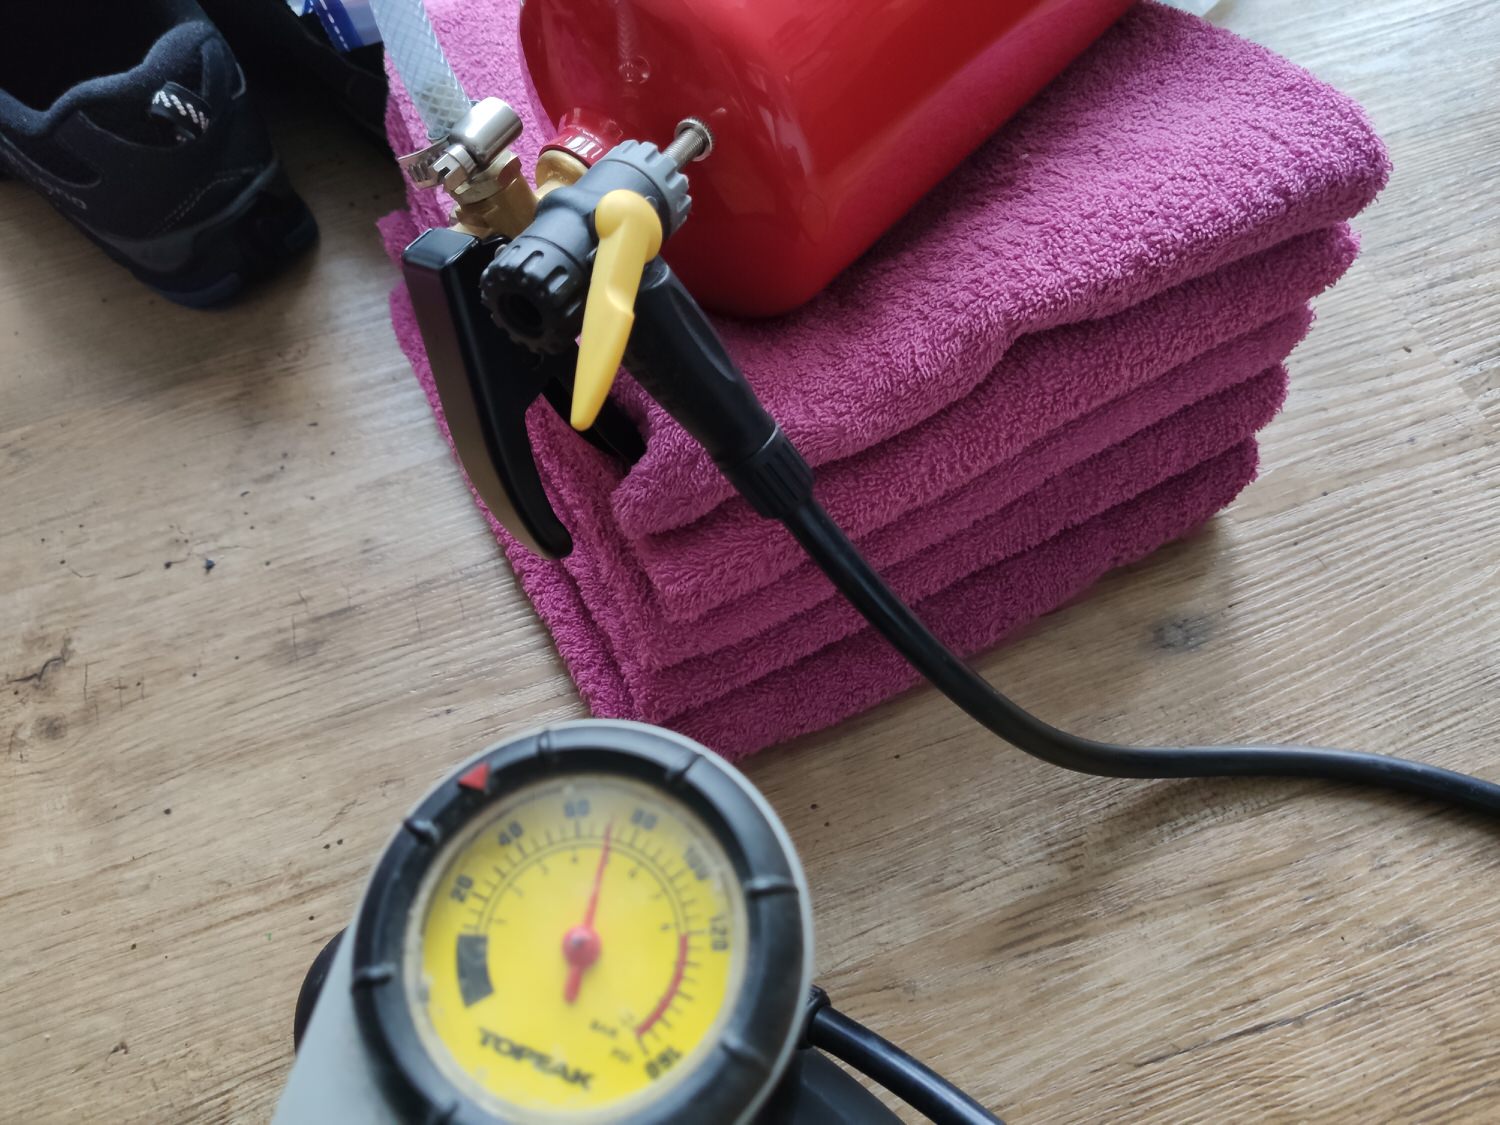
I have inflated the fire extinguisher, now our DIY Air Tank Tubeless Tire Booster, to approx. 9-10 bar. You can use your normal pump for this (my pump).
Centre the tyre on the rim, connect the valve head and
BOOOOOOOOM
Final note:
II am only giving you a suggestion. You are responsible for yourself and I am not liable for any damage or injury you may suffer while tinkering or cycling or assembling. This should be clear.
The links I use will take you to Amazon. They are affiliate links where you pay the same price but I get a small compensation for my blog post. Win-win, right?
Leave a Reply