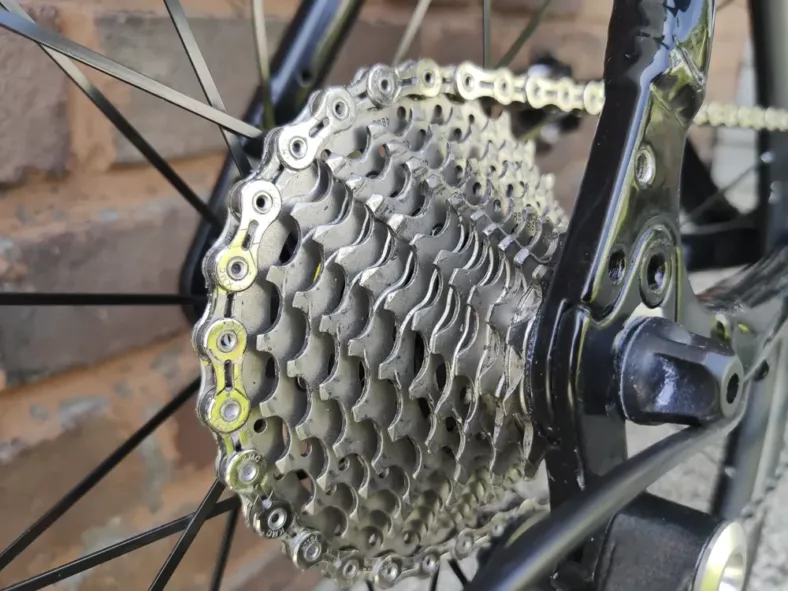
For a long time I oiled my chain like everyone else, sometimes with this stuff, sometimes with that stuff. At the end of the day, it was dark to black and stained. Not a nice sight, as the rest of the bike is actually always very clean.
So what to do? Wax the chain?
Inspired by some videos on the internet of users who no longer oil their chains but treat them with a wax-teflon mixture, I decided to give it a try.
Without further ado, the following tools were ordered:
- SlowCooker
- Paraffin wax as small balls
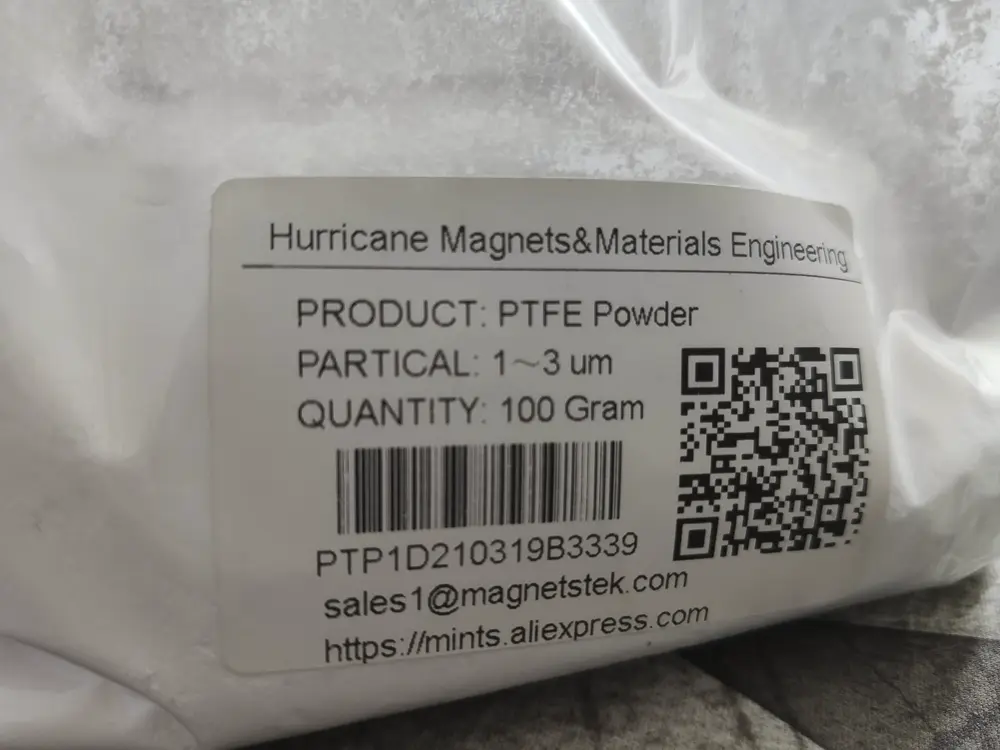
- PTFE powder from the chinaman
- bent skewers
- petrol
- Isopropanol alcohol 99
- Many glasses with lids
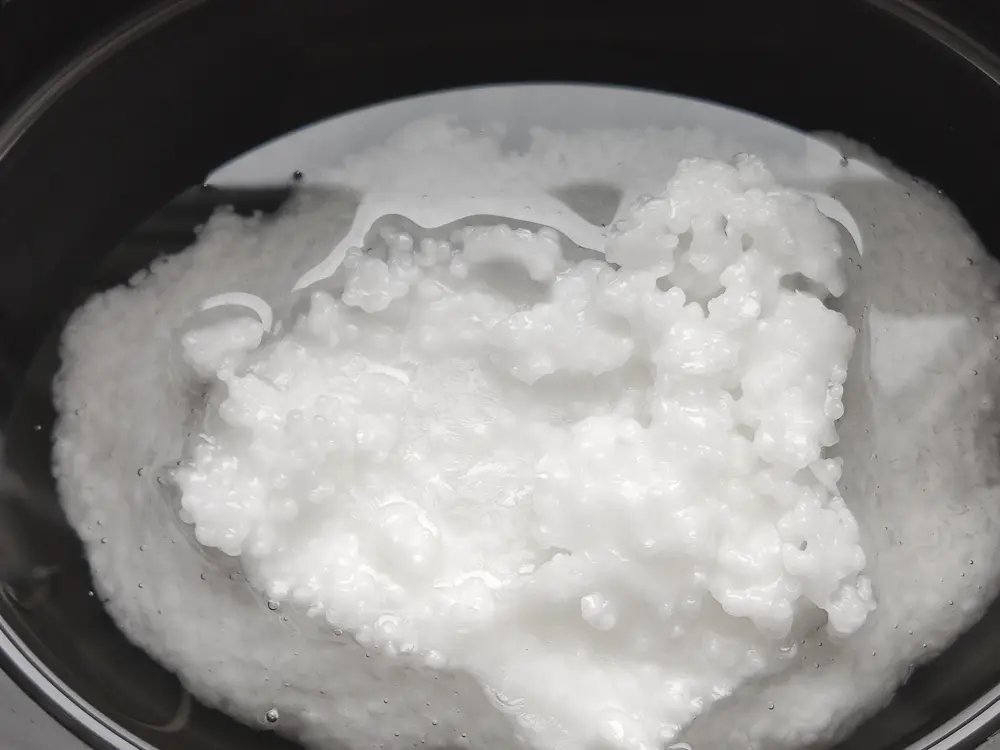
(rice pudding with cherries…) - a few brushes from the 1EU crawling shelf
Clean the chain – degrease
Before we can throw the chain into the hot wax, we should clean it from mud and dirt. This is what two or three screw jars are for.
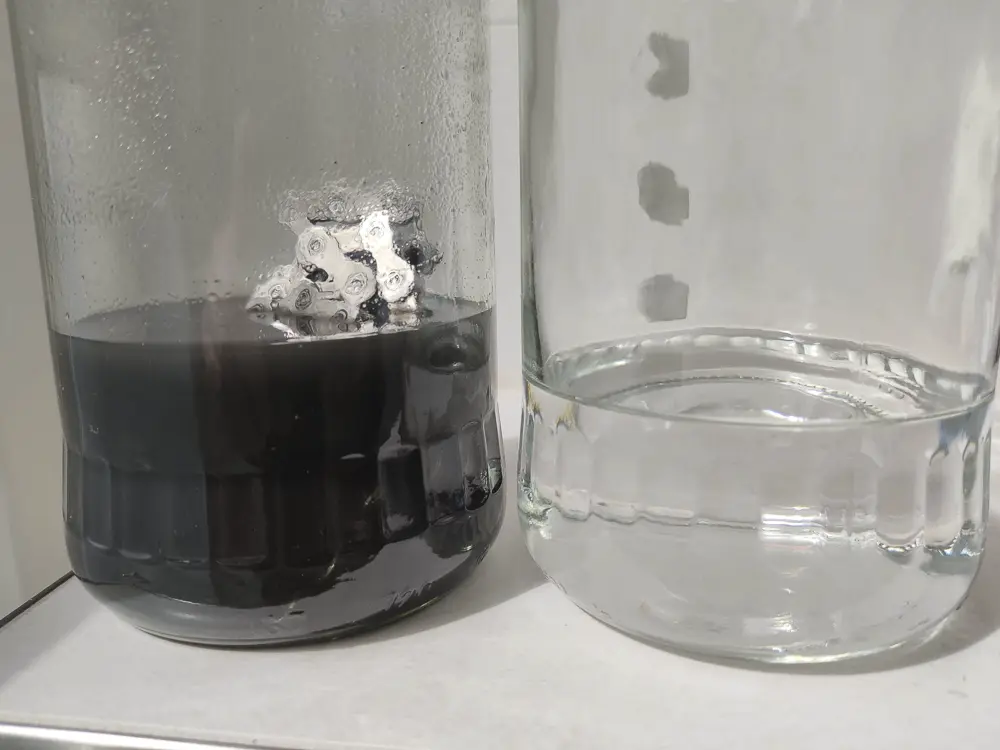
First I cleaned the chain with an old cloth. Then it went into the first jar with cleaning gasoline, you can also take some from the petrol station here.
Let the chain rest in the jar for a while, shake it a bit every now and then and see how the clear liquid slowly turns into a nasty, dark soup.
A lot of dirt and grime has come down here, you can filter this glass with a coffee filter and use it again for a first cleaning.
Add new petrol to the glass and repeat the process until the petrol is no longer discoloured.
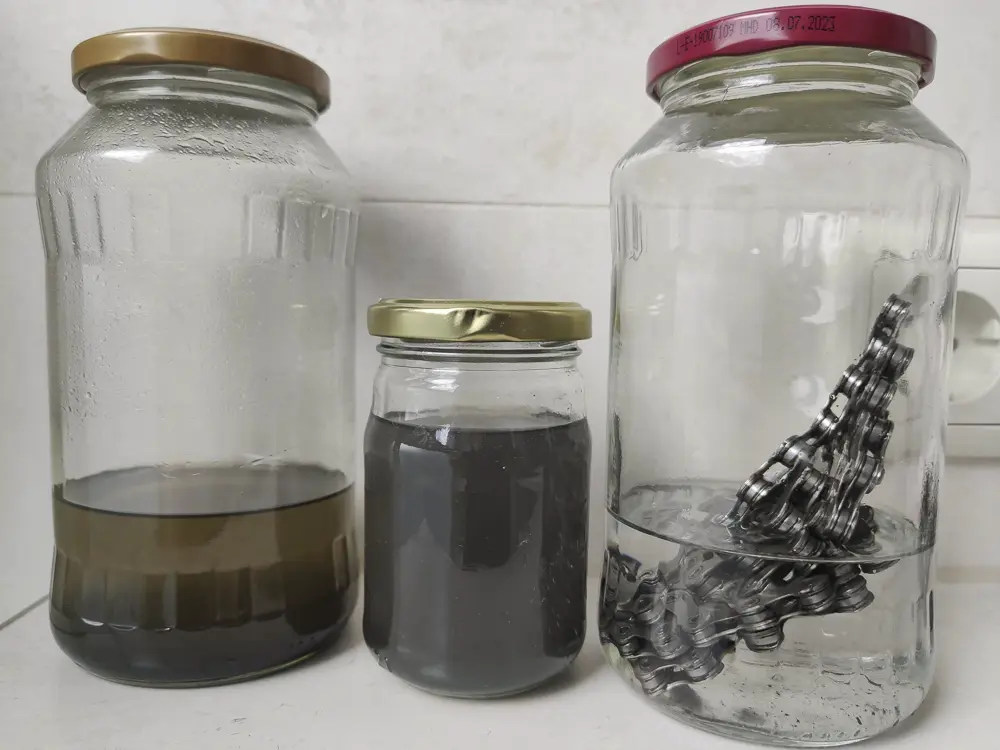
Now you could add a degreaser, but so far I have always thrown my chains directly into the 99% iso. Again, let it soak in for a while, shake it around and repeat until the clear alcohol no longer changes colour. You can keep the liquids, label them, e.g. petrol for first gear, etc. But once the chain has been waxed, cleaning is a little easier.
Now take the chain out of the iso bath and let it dry for a while. It feels different, it rattles more and has become very flexible.
Prepare the slow cooker
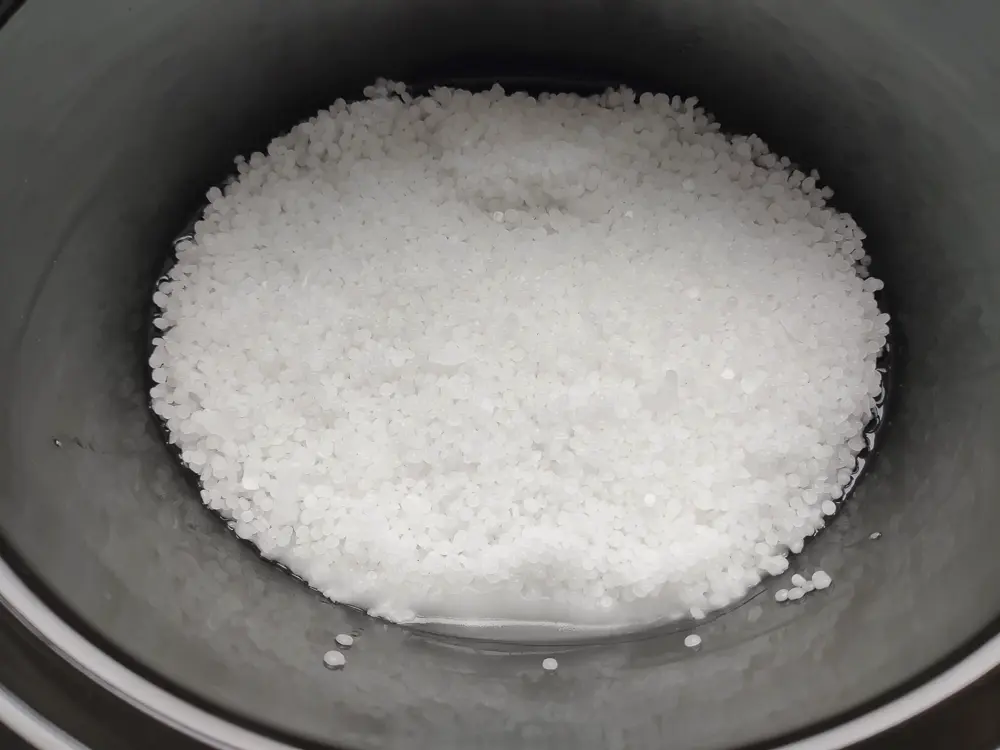
This is the easiest part. Plug in the slow cooker, set it to the highest setting and let it heat up. If necessary, have a barbecue thermometer ready.
When the wax has melted, stir in 50 grams of PTFE powder per 500 grams of wax. Do this in small portions, it clumps together quite quickly. As soon as everything is well distributed, you can continue. But just as a hint, the powder will always settle, that is normal.
Waxing the chain – throw it in!

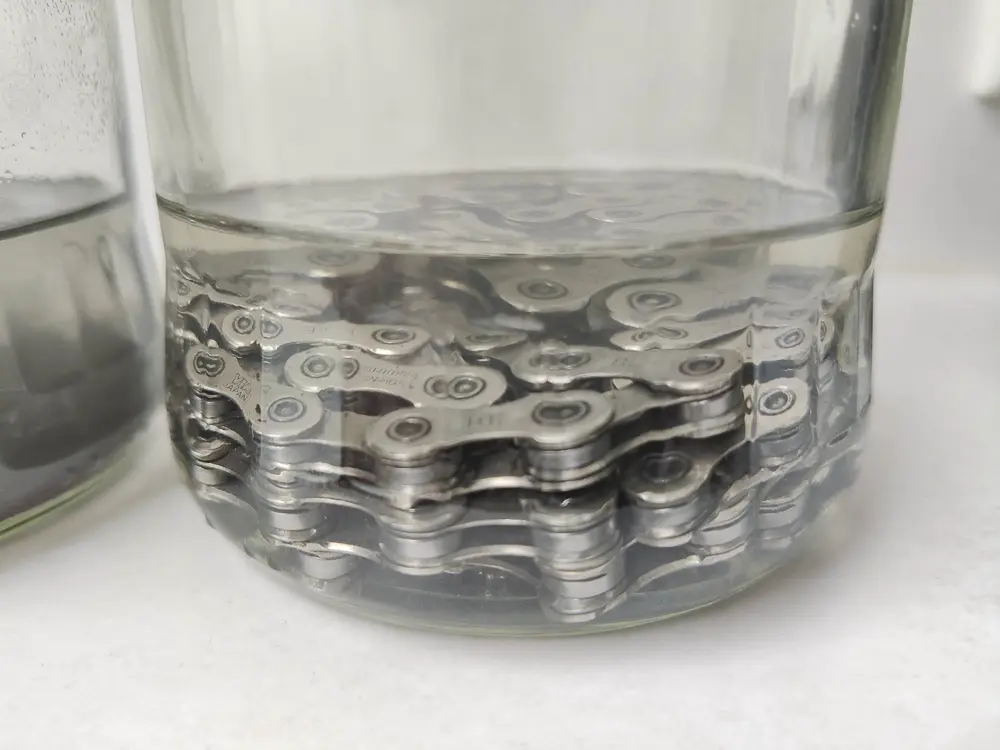
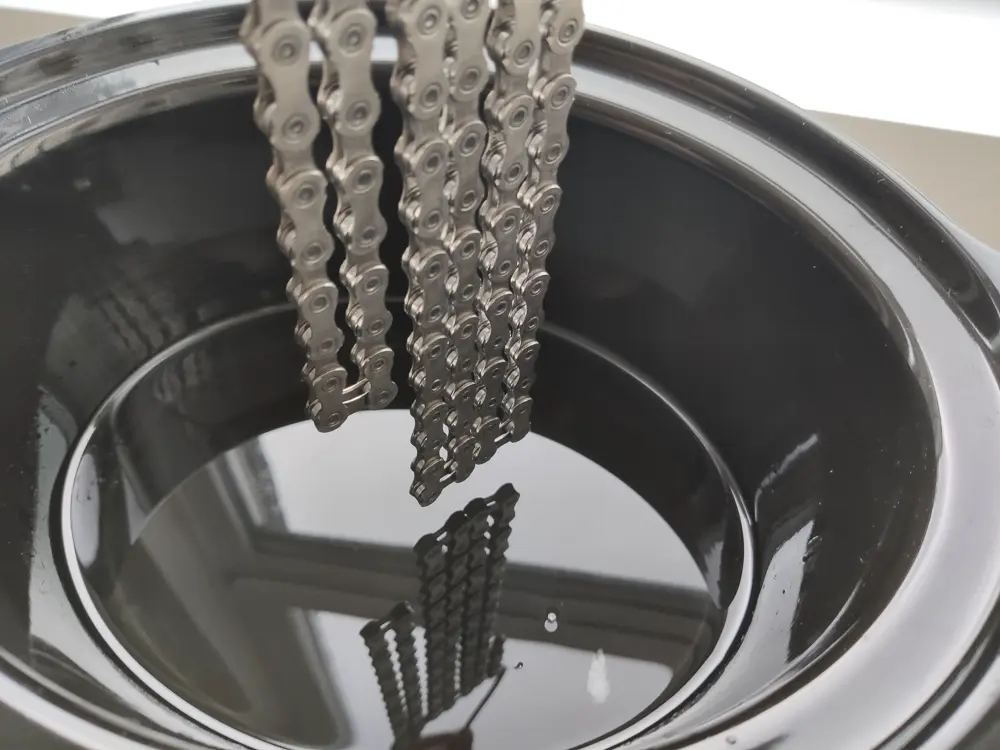
I thread the chain onto a bent skewer, simply to simplify handling. Then thread on the QuickLink module and the chain can go for a swim.
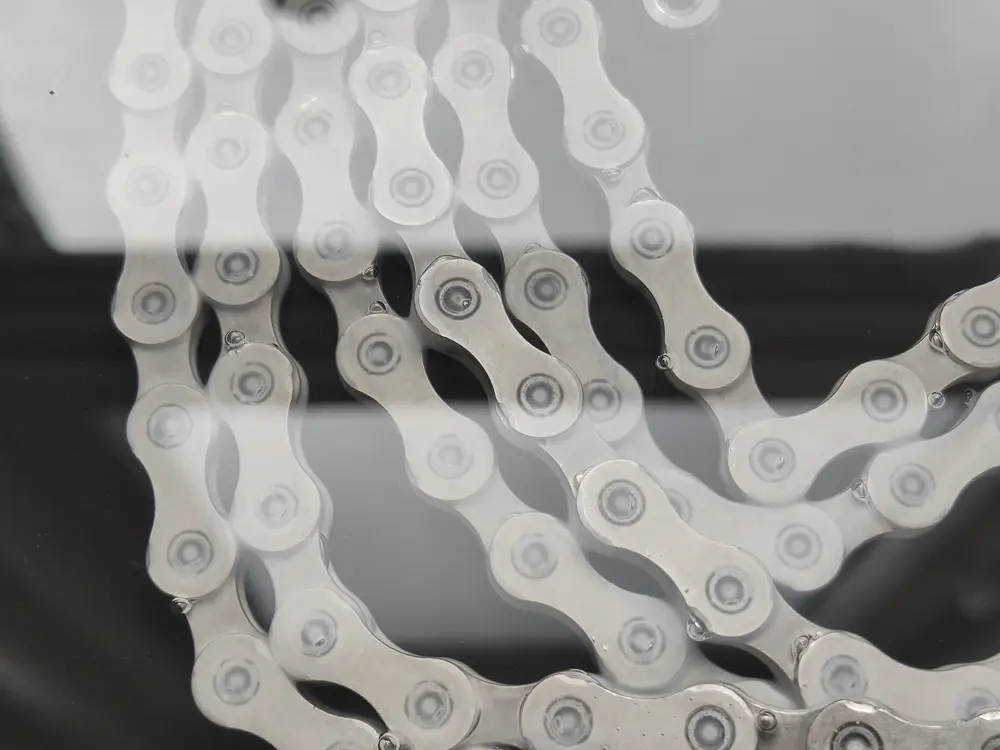
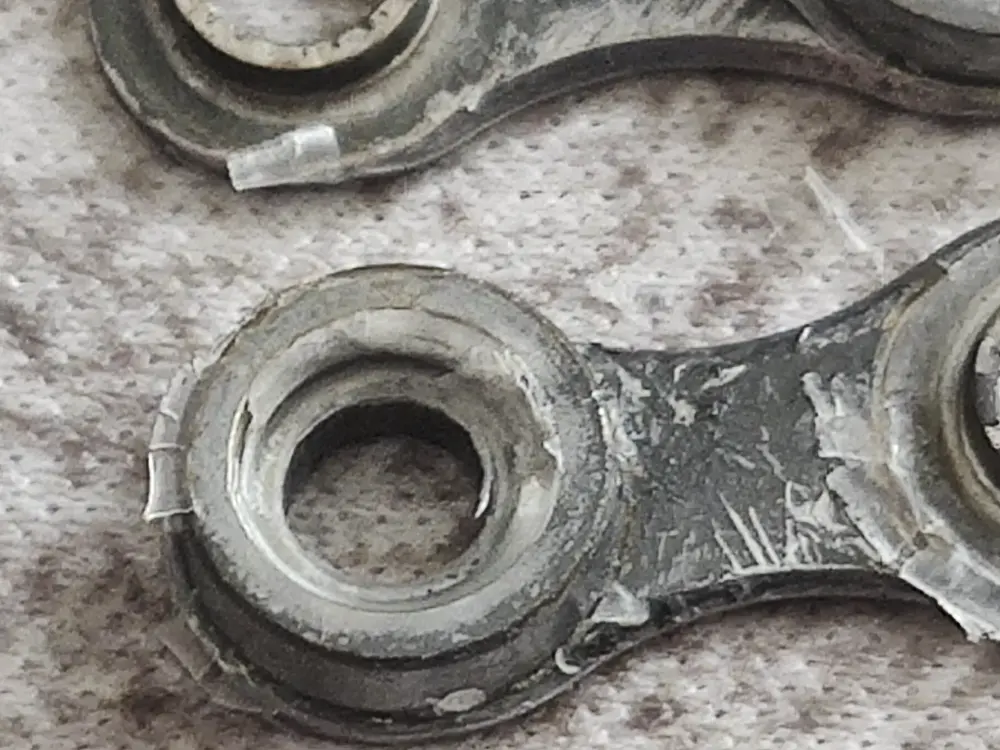
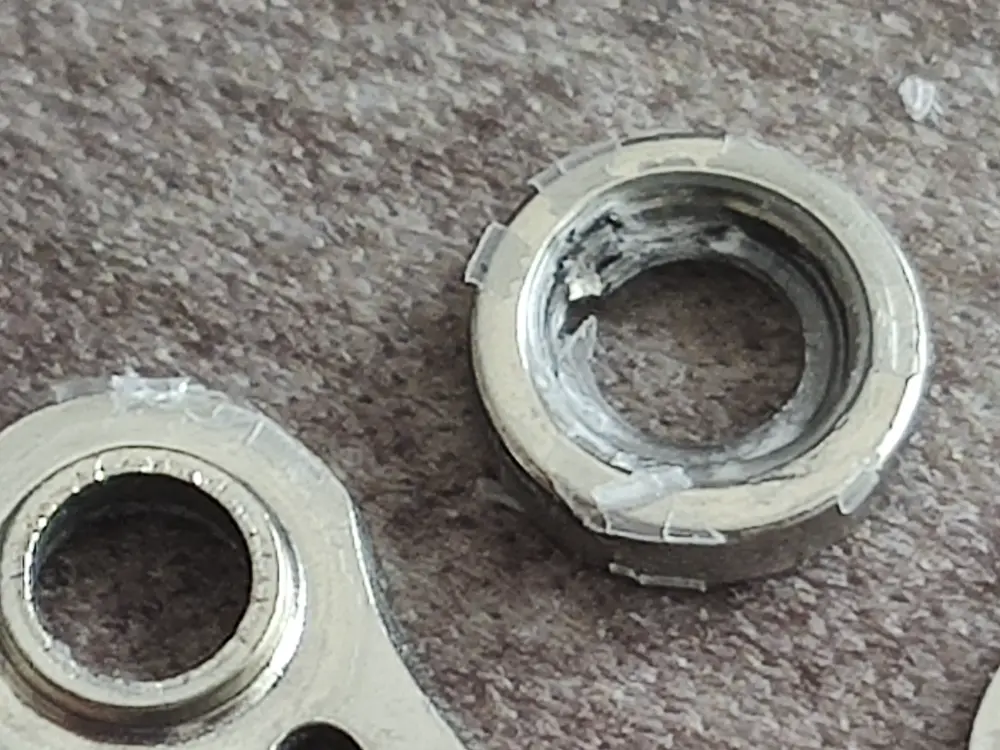
First of all, put the chain calmly into the liquid, which you have stirred briefly beforehand. Now small bubbles are rising everywhere, which shows us that the chain is also filling up with wax inside. As the chain was cold when it came into the 90°C hot wax, we should let it rest for a moment so that the metal can warm up and the wax can run into every gap. I tried out how well this works on a piece of unused chain. But look for yourself: the wax is well distributed on the inside of the rollers and also in the gaps. And that’s exactly where we want it.

When taking out the chain, there are different opinions:
- Some take the chain out, wipe the excess wax off the sides with a cloth and hang it up or put it to one side. I hang it up so that the wax doesn’t settle on one side.
- Others dip the chain in cold water so that the wax solidifies immediately and stays where it belongs. But that doesn’t look so great, because the wax also sticks to the sides where it’s not really needed. I like to use this method for MTBs because the chain can get wet sometimes and no rust film forms.
For the road bike, I wipe off the sides and let the chain cool down.
What now? My chain is no longer flexible?
The chain is now as stiff as a block, which is a good sign. The wax is solid and fixes the rollers and chain links. You can now run the chain over your thumb or a piece of wood with gloves on to “break it up”.
Then simply mount it, the remaining wax flakes will simply be lost during the next ride. You can simply blow them off or remove them with a brush.
Why all the effort?
I admit, up to here it sounds like it would be an insane amount of work. You should treat a new chain the same way as a used one that is still oiled.
Once the chain has absorbed the wax, and after 200-400km needs replenishment, you can rinse the chain with boiling water, and then just put it back in the wax bath, drain and wipe it off, and reassemble.
The effort of the initial cleaning is just a little more elaborate. But you should do anyway, because even with oil should be down the pampe from the manufacturer, which is only intended for preservation.
Am I satisfied now?
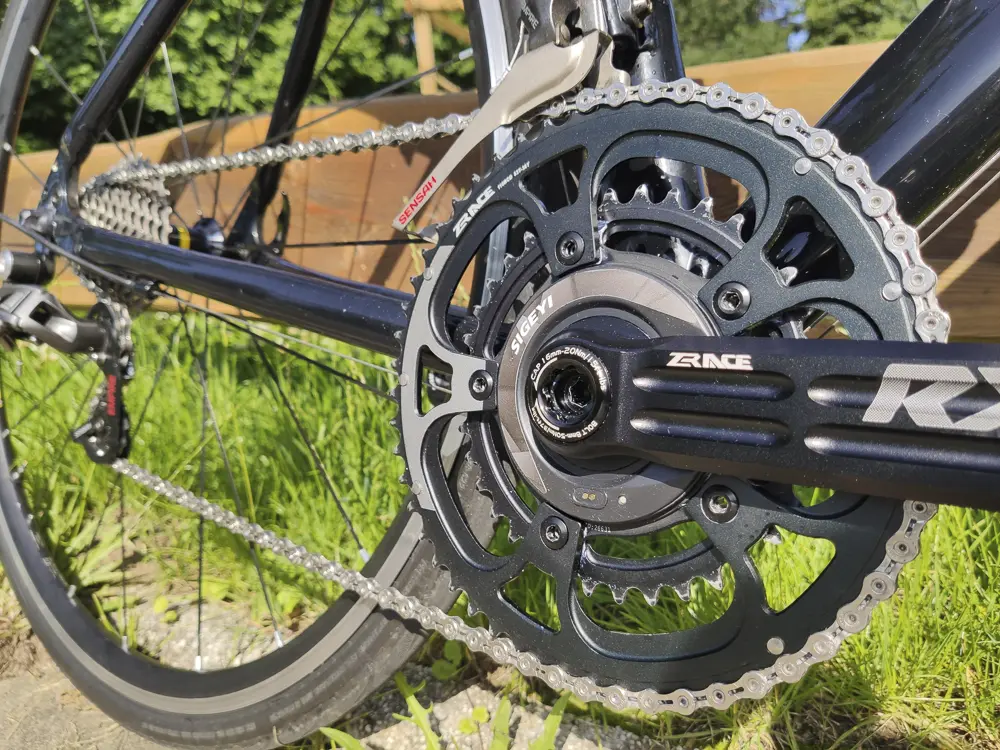
In short, yes – My drive train looks like new, no more nasty stripes on the leg and no oil smell in the booth. And a freshly waxed chain runs really first class, not for nothing has the process also found its way to the professionals.
A few more tips in the aftermath:
Chain down, clean and wax, mount again. Okay that also takes some time.
My approach now is this:
I take three new chains, chainrings and cassette are still almost new. Now I wax all three chains at once, mount one and put the other two on the side. As soon as I think the wax is used up, I just put on one of the next chains. Thus, all chains wear out equally and also equally slowly, and thus also spare the other chainrings and sprockets of the cassette at the same time, because the chains are only with the factor 1/3 lengthened compared to the use of only one chain. And it simply simplifies the effort considerably. And quite honestly, if it rains Sunday at noon like from buckets, then the action is also quickly through and you are again prepared for quite a while.
Let’s hear how you do it: oil, wax? What do you get along best with.
Links in the text are affiliate links from partners: You pay the normal price, but I get a little compensation for my time on the blog. Thank you very much for that!
Leave a Reply